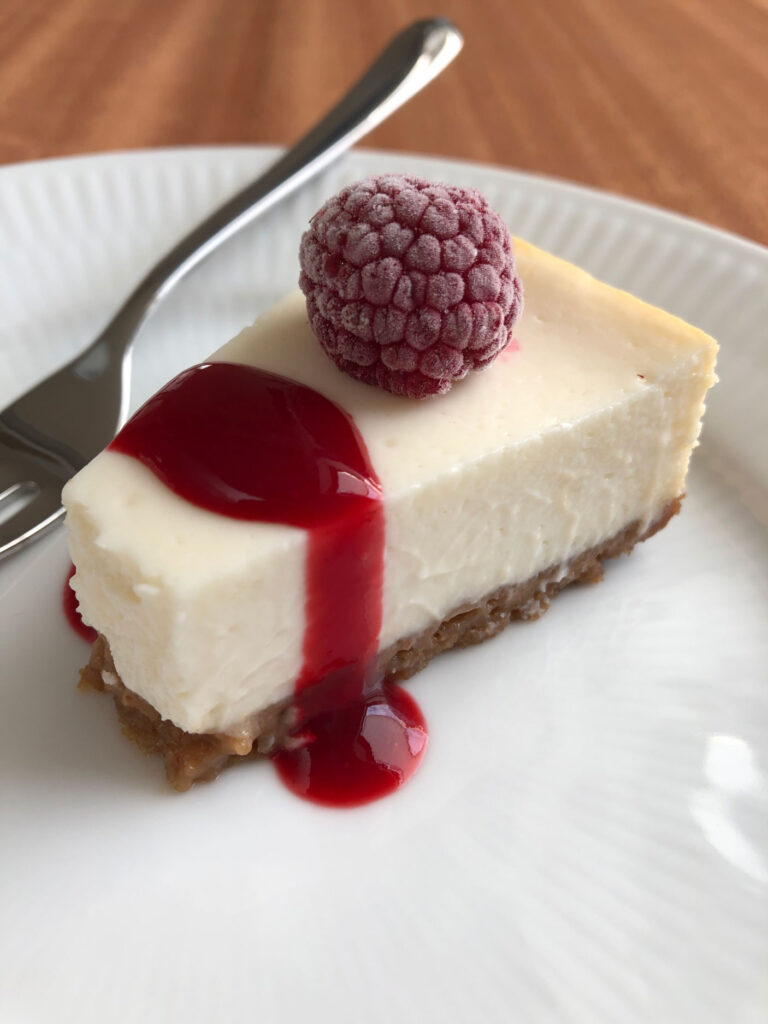
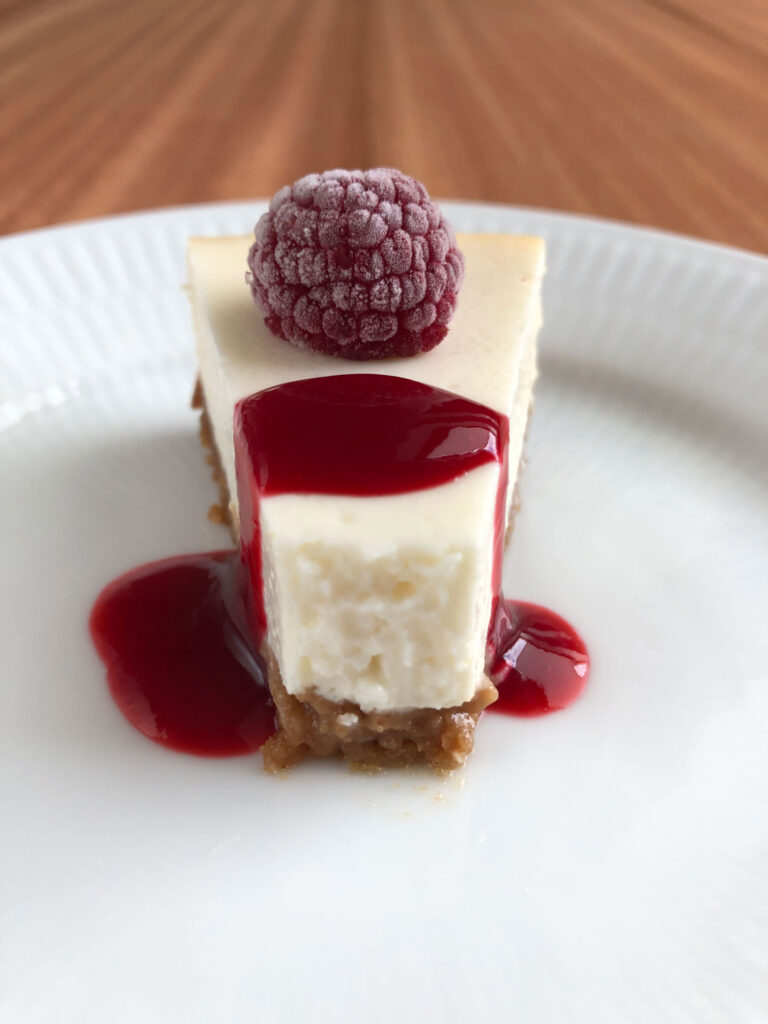
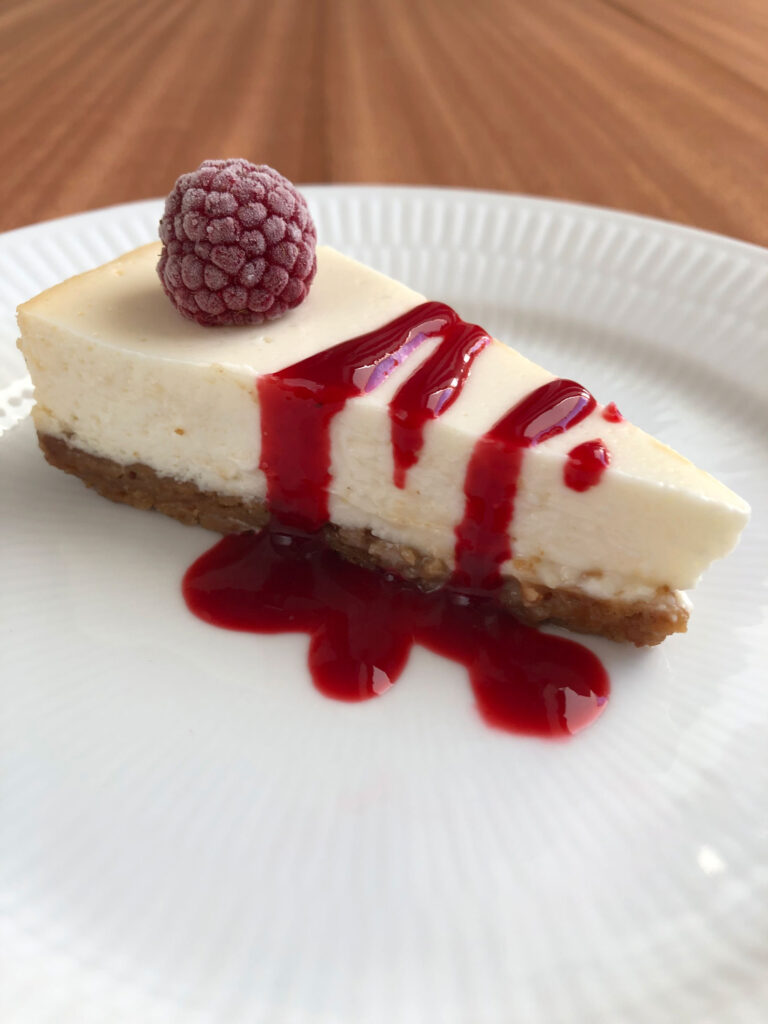
This healthy Greek yogurt cheesecake is deliciously creamy and super quick and easy to make! Egg-free, optionally vegan and gluten-free!

This Greek yogurt cheesecake is healthy, low in calories, and has no heavy cream, sour cream, eggs, sweetened condensed milk, or lots of refined sugar like traditional recipes.
I truly love cheesecake. I think it was when I was an au pair in Australia that I tried homemade New York-style cheesecake for the first time. I remember fresh raspberries on top of a really good homemade cheesecake for dessert at a dinner party at my host parents’ house. And of course all those cheesecake stores, which however were not so appealing to me. Homemade is best, right? And this is exactly what I did when I returned back home. The first one I tried was a traditional cheesecake and it turned out really good. This one is as tasty, but so healthy that you could even eat it for breaktfast without feeling guilty, which perfectly suits me since I like to eat cake for breakfast from time to time.
This recipe yields just a tiny 8-inch cake. I am a huge fan of small cakes, because they look pretty, are eaten up quickly, and the next cake waiting can be baked!

Healthy Greek Yogurt Cheesecake Ingredients
You can use a digestive biscuit crust, a graham cracker crust, a cookie crust, or any crust you’d prefer.
For this recipe, I used my digestive biscuit crust recipe which calls for just 4 ingredients: digestive biscuits, melted butter, raw cane sugar or other choices of sugar, and salt.
The filling for this cheesecake calls for 7 ingredients: Greek yogurt, cream cheese, agave or maple syrup, pure vanilla extract, fresh lemon juice, salt, and cornstarch.
This recipe has significantly more Greek yogurt than cream cheese. The Greek yogurt gives it a super smooth and creamy texture and besides provides a lot of protein. There are no eggs in the recipe.
Cheesecake With No Eggs
The filling is made without eggs or other ingredients that can’t be eaten raw, which means you can spoon it without baking (be sure to leave some filling for the cake!). You could also abandon the idea of baking a cake and just serve the filling in bowls. But actually, that’s a good idea for another time, because the cake is totally worth it.
Since digestive biscuits usually do not contain eggs, the entire recipe is egg-free.
Vegan and Gluten-Free Cheesecake
As long as you use gluten-free digestive biscuits, this recipe is gluten-free. Making sure to use healthy and organic digestive biscuits is a good way to go anyway.
As long as you use vegan butter in the crust and make sure that your digestive biscuits are vegan (what many are anyway!), and you use vegan Greek yogurt and vegan cream cheese in the filling, this cheesecake can be vegan.
How to Make Healthy Greek Yogurt Cheesecake
This recipe is simple and super quick and easy to make. The ingredients for both the crust and the filling are absolutely manageable. The filling is made in no time at all and so is the crust.
For both, you simply need to combine the ingredients given for each, regardless of the order. For the filling, however, if using a hand mixer, I recommend whisking the cornstarch together with the lemon juice and vanilla extract beforehand to avoid having to mix the ingredients longer than intended due to possible lumps.
Set an oven rack on the middle position and preheat the oven to 350 degrees Fahrenheit.
Make the crust by stirring all ingredients until well combined. Press into an even layer on the bottom of a greased 8-inch springform pan. Prebake the crust in the preheated oven for 10 minutes. Remove from the oven and set aside on a wire rack.
Keep the oven on at the same temperature and place any baking pan or baking dish half-filled with water on the lower rack or floor of the oven.
Make the filling by beating all ingredients using a food processor or (hand) blender just until smooth (overbeating can cause air bubbles to form that might later burst and cause cracking). (Alternatively, you can use a hand mixer with beaters running on medium speed.) Pour on top of the crust, smooth out, and place on the middle rack above the water-filled pan.
Bake for 25 minutes, then do not open the oven door, but turn the heat off and leave the cake in the closed oven for another 8 minutes. Remove the cake from the oven. It will look underbaked and wobble in the middle when the pan is nudged.
Allow to cool in the pan on a wire rack for at least an hour before moving the cake, covered, to the refrigerator to set for at least 8 hours, or preferably overnight, before removing it from the pan.
It is important to let the cake cool down gradually, because otherwise it may crack.

If you make this recipe, I’d love to know how it turned out! Please let me know by giving it a star rating and leaving a comment below. Or snap a photo and tag @teatimeontheporch on Instagram so I can see it! I’d love to see your healthy Greek yogurt cheesecake!
Follow me on Facebook, Instagram, Pinterest, and Twitter!
Healthy Greek Yogurt Cheesecake
Ingredients
For the Digestive Biscuit Crust
- 100 g digestive biscuits, processed into crumbs (see notes below!)
- 3 tablespoons (42 g) unsalted butter, melted, vegan if desired
- 1 tablespoon (12.5 g) raw cane sugar (see notes below!)
- 1/16 teaspoon salt
For the Filling
- 1 1/2 cups (340 g) plain Greek yogurt, at room temperature, vegan if desired
- 4 ounces (113 g) cream cheese, at room temperature, vegan if desired
- 1/2 cup (168 g) agave or maple syrup
- 1 1/2 teaspoons (6 g) pure vanilla extract
- 1/2 tablespoon (7.5 ml) fresh lemon juice
- 1/4 teaspoon salt
- 1 tablespoon (8 g) cornstarch
Instructions
- Set an oven rack in the middle position and preheat the oven to 350°F (177°C). Grease an 8-in springform pan.
- Make the crust: In a medium bowl, combine the digestive biscuit crumbs, melted butter, sugar, and salt. Stir until well combined. Press into an even layer on the bottom of the prepared pan. Bake for 10 minutes. Set aside on a wire rack.
- Place any baking pan or baking dish half-filled with water on the lower rack or floor of the oven.
- Make the filling: Beat all ingredients using a food processor or (hand) blender just until smooth (overbeating can cause air bubbles to form that might later burst and cause cracking). (Alternatively, you can use a hand mixer with beaters running on medium speed.) Pour on top of the crust, smooth out, and place on the middle rack above the water-filled pan.
- Bake for 25 minutes, then DO NOT OPEN the oven door, but turn the heat off and leave the cake in the closed oven for another 8 minutes. Remove the cake from the oven. It will look underbaked and wobble in the middle when the pan is nudged.
- Allow to cool in the pan on a wire rack for at least an hour before moving the cake, covered, to the refrigerator to set for at least 8 hours, or preferably overnight, before removing it from the pan.
- When slicing, wipe the knife between each cut. Serve topped with fresh raspberries and raspberry sauce, or as desired.
Notes
Did You Make This Recipe?
I’d love to know how it turned out! Please leave a comment below. Or snap a photo and tag @teatimeontheporch on Instagram so I can see it!

Gaby says
Wow, thank you very much for this recipe! An ingenious idea … to take digestive biscuits for the crumbs! The filling really is very refreshing and – as you say – eating a second piece is no trouble. This will be my new tea time cake! 😋🍀
Christina says
I’m so glad to hear that! Thank you for making it and taking the time to comment!